Trezor.io/Start: Your Complete Guide to Setting Up a Trezor Hardware Wallet
In today’s evolving digital landscape, securing crypto assets has never been more critical. With increasing threats such as online hacks, phishing attacks, and exchange breaches, crypto investors are transitioning to hardware wallets for more advanced protection. Trezor.io/start is the official setup portal that guides users through the installation, configuration, and usage of the Trezor hardware wallet. Whether you're a beginner investor or a seasoned crypto holder, understanding how to navigate the Trezor.io/start page ensures complete control and security of your digital assets.
What Is Trezor?
Trezor is a leading hardware wallet brand designed to protect cryptocurrencies with high-level encryption and offline storage. Unlike software wallets or exchange accounts, Trezor stores private keys offline, making them inaccessible to hackers. Trezor is widely used to secure Bitcoin, Ethereum, stablecoins, and thousands of other tokens supported through integrated wallets.
Key benefits include:
Offline key storage
Secure seed recovery
Password manager integration
Compatibility with multiple cryptocurrencies
User-friendly setup through Trezor.io/start
Why Use Trezor.io/Start for Setup?
Trezor.io/start is the official and most trusted setup resource for Trezor devices. It walks users through device installation, security configuration, firmware updates, and wallet access with clear step-by-step instructions.
Key reasons to use Trezor.io/start:
Authentic and safe setup resource
Direct firmware updates
Guided seed phrase creation
Fast access to support resources
Beginner-friendly interface
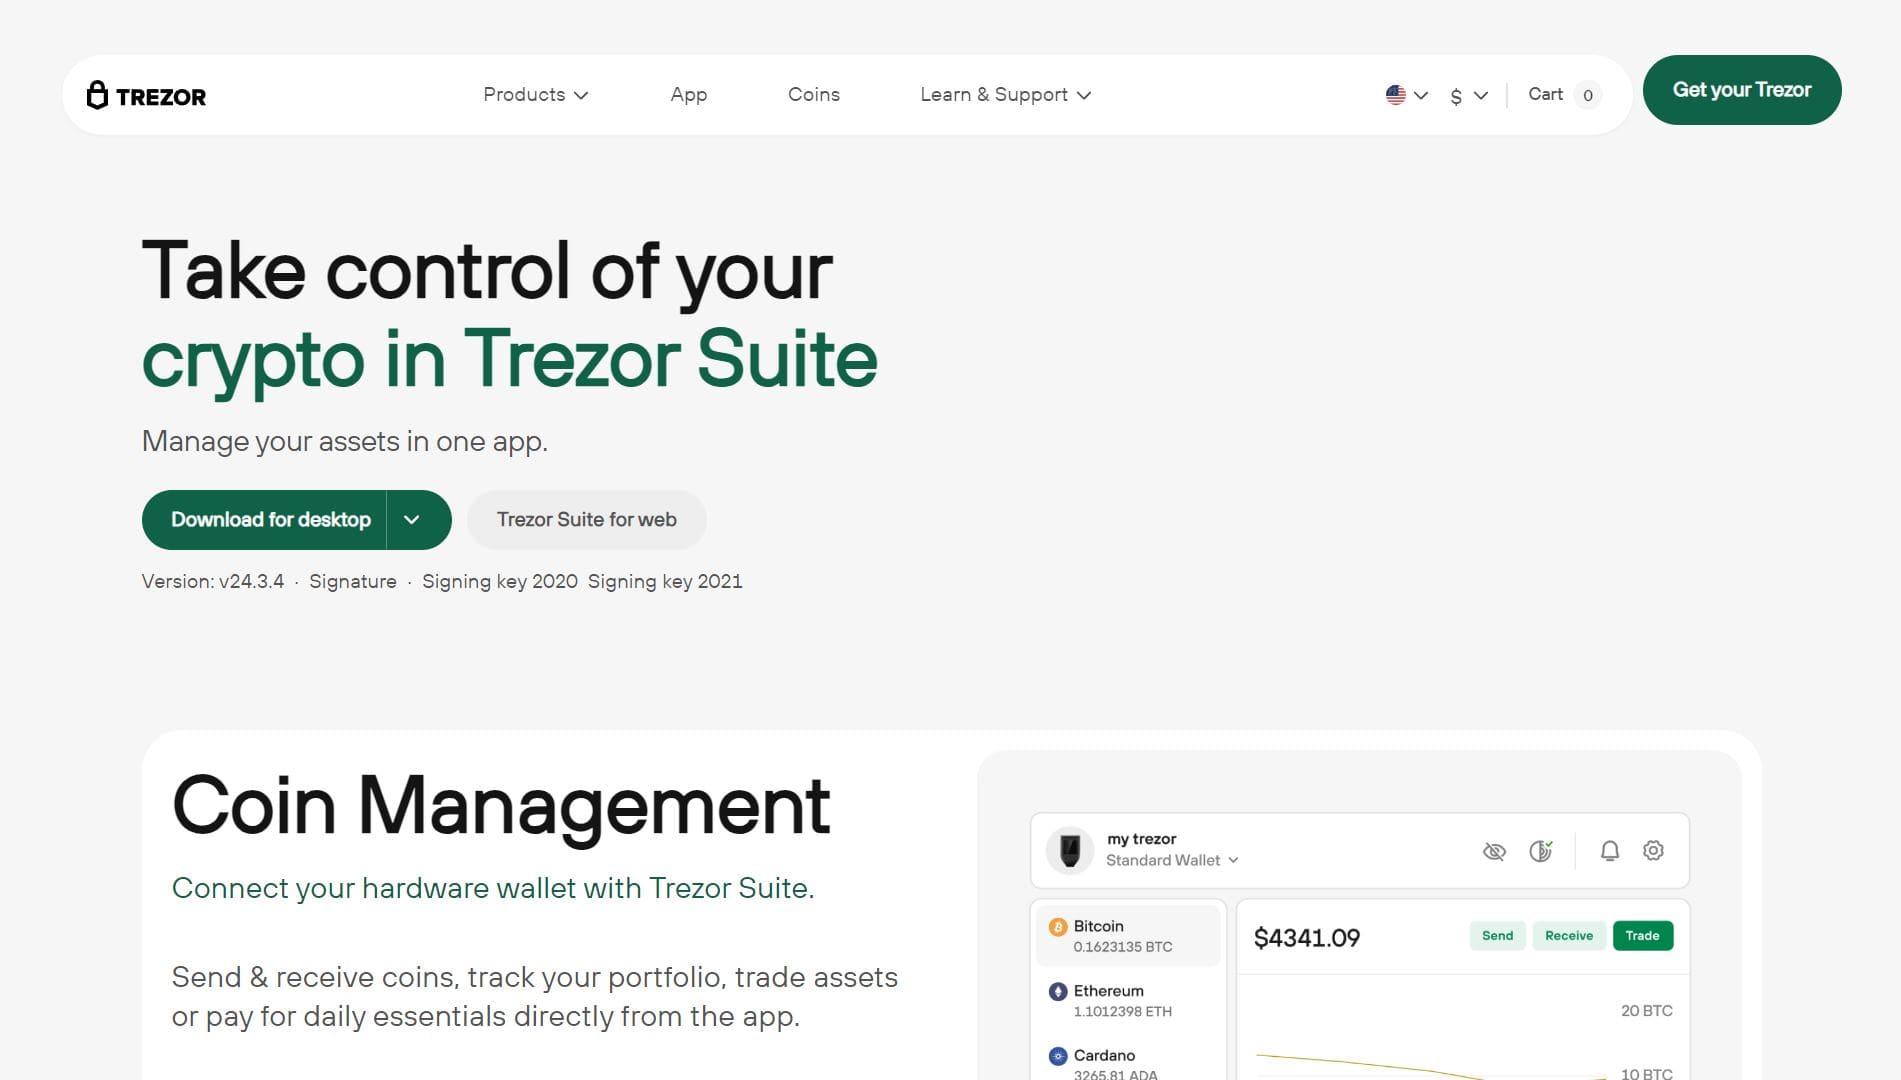
This page also connects users with official Trezor Suite, the application used to manage crypto transactions and assets securely.
How to Set Up Trezor Using Trezor.io/Start
Setting up your device through Trezor.io/start is essential for security and usability. Below is a simple step-by-step overview.
Step 1: Connect Your Trezor Device
Plug your Trezor Model One or Model T into your computer using the supplied USB cable. Your device will power on automatically.
Step 2: Visit Trezor.io/Start
Launch your browser and enter Trezor.io/start. The page will detect your device model and guide you to the correct process.
Step 3: Install Trezor Suite
The website will prompt you to download Trezor Suite — the official crypto management application. This software allows you to send, receive, buy, or trade digital assets in a secure environment.
Step 4: Update Device Firmware
Before wallet creation, your device may require a firmware update. This ensures compatibility, improved security, and full access to the latest features.
Step 5: Create and Save Your Recovery Seed
The most critical step in the process is generating your seed phrase, a series of 12, 18, or 24 words that serves as your wallet backup.
Never take a screenshot, upload it to cloud storage, or share it with any individual or website.
Write it down on paper or a metal backup and store it offline.
Step 6: Create Your PIN
Choose a strong PIN to prevent unauthorized access. This is the first line of defense if your device is ever lost or stolen.
Using Trezor Suite After Setup
Once configured through Trezor.io/start, users gain full access to the Trezor Suite interface. Key features include:
Send and Receive Transactions
Manage your crypto portfolio and initiate secure transfers.
Buy, Sell, and Swap Assets
Access marketplace integrations for asset exchanges.
Portfolio Tracking
Monitor real-time token balances and market performance.
Enhanced Privacy
Advanced settings allow Tor integration for anonymous communication.
Cybersecurity Advantages of Trezor Hardware Wallets
Below are the primary security features that make Trezor a trusted choice:
Offline Storage
Your private keys are never exposed to the internet.
Passphrase Protection
Add an additional layer of authentication that makes your wallet unique.
Open-Source Architecture
Community-audited code ensures transparency and reliability.
Physical Verification
Every transaction requires manual confirmation via the hardware device.
Troubleshooting Through Trezor.io/Support
If you encounter any issues during setup or usage, Trezor.io/support provides a library of resources including FAQs, device guides, firmware documentation, and contact channels. Users can find troubleshooting help on topics such as:
Forgotten PIN recovery
Firmware rollback or update issues
Seed phrase troubleshooting
Connectivity and browser issues
Trezor Suite installation errors
The support page is particularly useful for users who wish to learn best practices for crypto security, multi-wallet configuration, and privacy optimization features.
Best Practices for Long-Term Crypto Security with Trezor
To maximize the safety of your digital assets, follow these recommendations:
Store your seed phrase offline and never upload it to cloud services.
Consider using a metal seed backup to protect against fire or water damage.
Regularly update your device firmware via Trezor.io/start.
Avoid connecting your hardware wallet on public computers.
Do not respond to emails or messages requesting your seed phrase.
Use a strong PIN and enable passphrase protection.
Conclusion – Trezor.io/Start Is the Official and Most Secure Setup Path
Whether you are safeguarding personal crypto investments or managing assets professionally, Trezor provides world-class security and simplicity. Using Trezor.io/start ensures your hardware wallet is configured properly, while Trezor.io/support offers ongoing guidance and answers to critical questions. By controlling your private keys, your digital assets remain truly yours — protected, private, and inaccessible to unauthorized parties.
If you are ready to protect your digital wealth, your journey begins securely at Trezor.io/start.